6. Note-taking#
Zim is a GUI application for taking notes on the desktop. You can use it to create and maintain a personal or laboratory notebook on your computer.
6.1. Features of Zim#
Using Zim, you can:
- Create digital notebooks
— add pages, and organize them using an index page.
- Take notes quickly
— using a WYSIWYG interface [1].
- Insert images
— files, symbols, screenshots, equations and more [2].
- Export notes
— to formats like HTML, LaTeX, and Markdown.
—
With the help of plugins, you can add even more functionality.
6.2. Installing Zim#
Zim is available in the distribution repositories.
You can install it using Software Manager (Fig. 96).
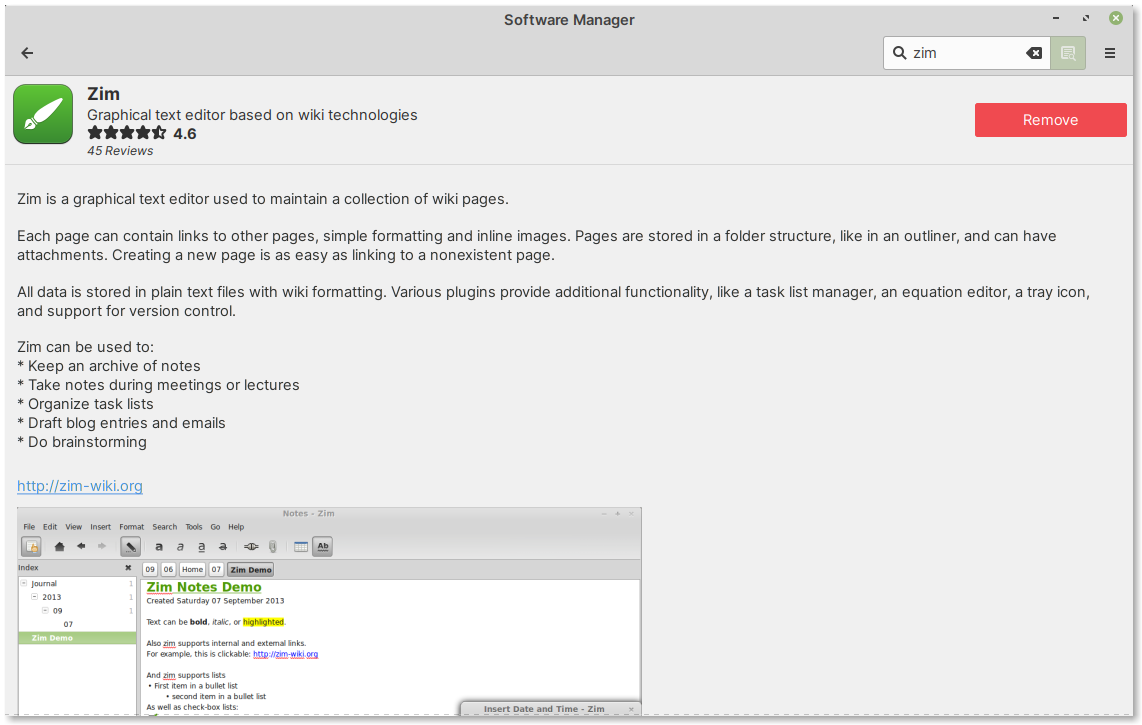
Fig. 96 Installing Zim using Software Manager#
6.3. Creating a notebook#
Open Zim by clicking on its icon in applications menu (Fig. 97). You can use the search bar to locate it quickly.

Fig. 97 Opening Zim from applications menu#
When you open the program for the first time, you will notice an Add Notebook dialog (Fig. 98).
Here, you can set a name for this notebook and select a directory to save notebooks.
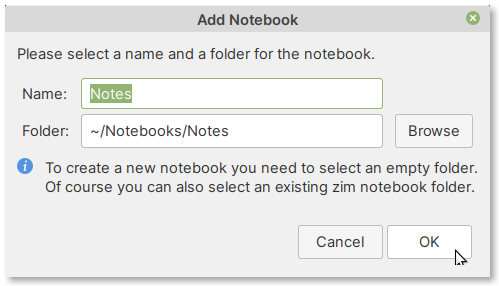
Fig. 98 Add notebook#
You can accept the defaults.
Click on the OK button to proceed.
This will open the main window of the program (Fig. 99).
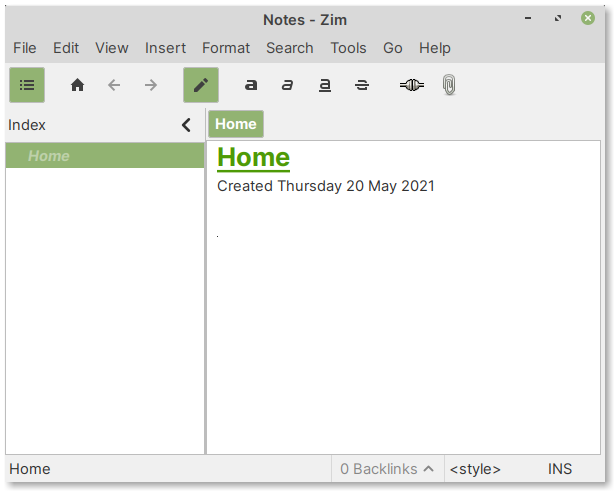
Fig. 99 Main window of Zim#
6.4. Taking notes#
The Home page is the main page of a notebook.
You can start typing your notes here. Zim saves changes automatically.
6.4.1. Basic text formatting#
Formatting text in Zim is similar to that of word processor programs.
You can use the Format menu bar entry and select the desired option (Fig. 100).
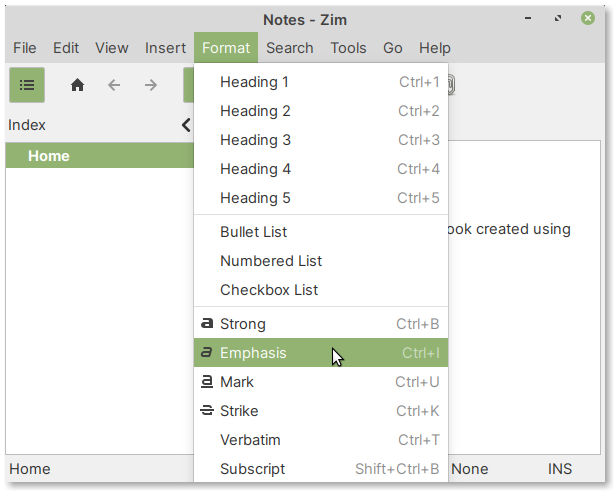
Fig. 100 Options for formatting text#
Keyboard shortcuts#
Alternatively, you can use keyboard shortcuts to apply formatting to your text.
For example:
Bold : Ctrl + b
Italic or Emphasis : Ctrl + i
Superscript : Ctrl + Shift + p
Subscript : Ctrl + Shift + b
For headings, use:
Heading 1: Ctrl + 1
Heading 2: Ctrl + 2
Heading 3: Ctrl + 3
Heading 4: Ctrl + 4
Heading 5: Ctrl + 5
6.4.2. Inserting images#
To insert an image, you can select the following option from the menu bar:
In the dialog that opens, browse to the directory containing your image and then select the image (Fig. 101).
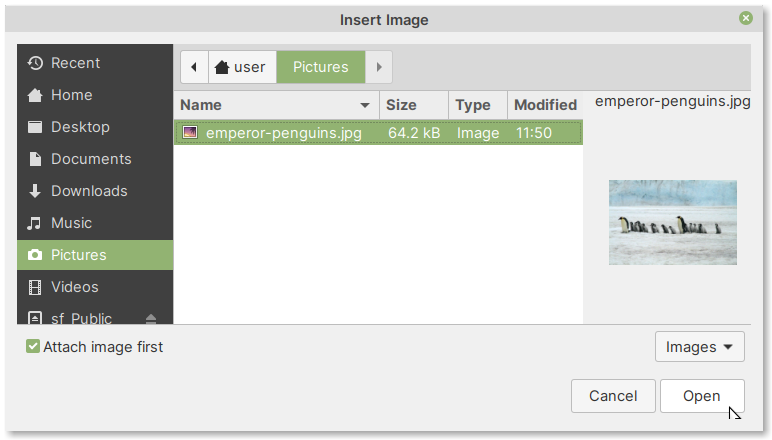
Fig. 101 Insert image. Check Attach image first option#
Check the Attach image first option. This will copy the image to your notebook directory.
Click on the Open button to insert the image (Fig. 102).
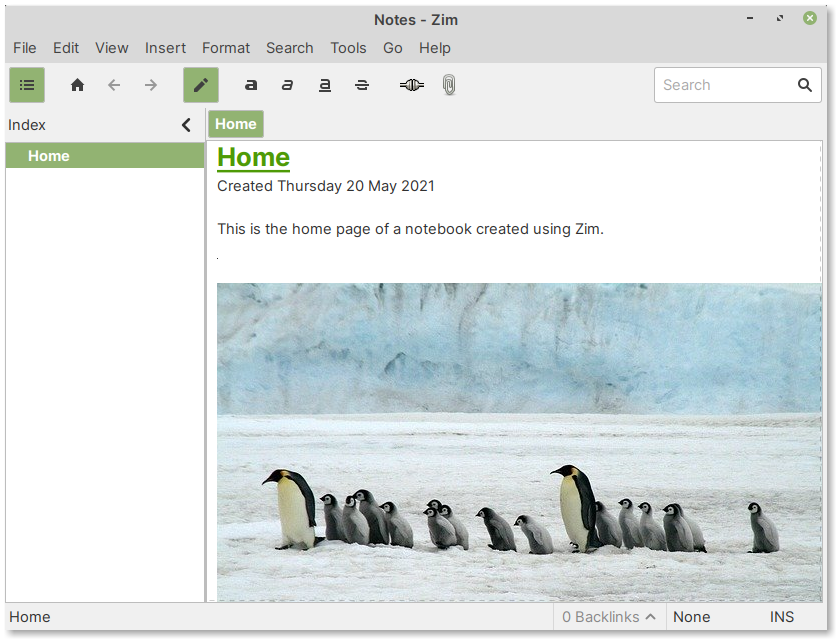
Fig. 102 Image inserted into current page#
Resizing an image#
If you would like to resize the image, right-click on the image and select Edit Properties (Fig. 103).

Fig. 103 Edit image properties#
In the dialog window that opens, change either the Width or the Height of the image to the desired size and click on the OK button (Fig. 104).
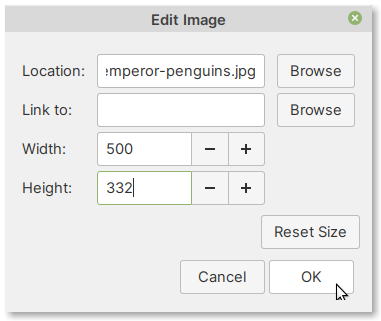
Fig. 104 Change the width or height of the image#
The image will now be resized (Fig. 105).

Fig. 105 Resized image#
6.4.3. Adding more pages#
To add more pages, select the following option from the menu bar (Fig. 106):
Note
You can also right-click on a page in the Index view and select the New Page Here option.
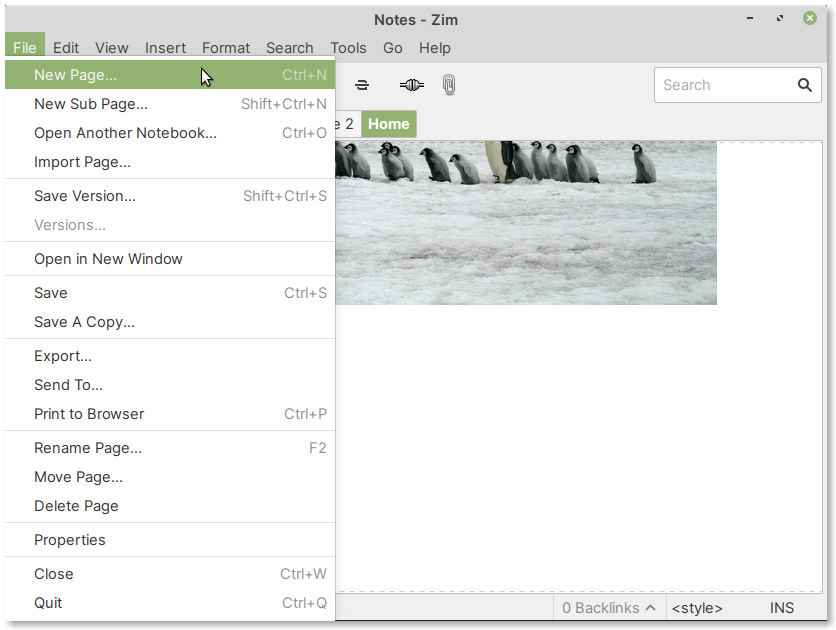
Fig. 106 Adding a new page#
Enter a name for the page in the New Page dialog window (Fig. 107) and click on the OK button.
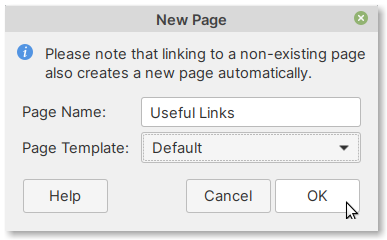
Fig. 107 Enter a name for the new page#
The new page will appear in the Index view (Fig. 108).
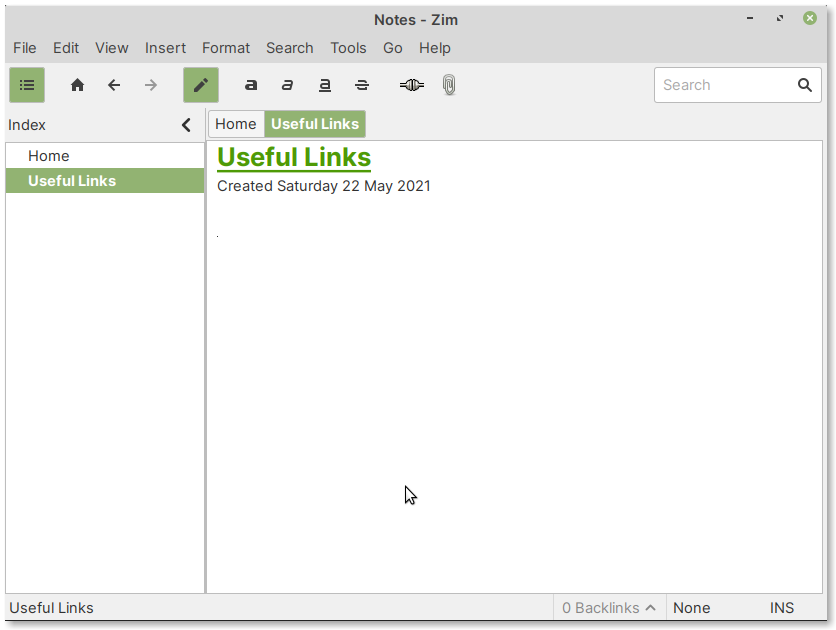
Fig. 108 Newly added page#
Adding subpages#
A subpage will be placed under an existing page.
To add a new subpage:
Select an existing page in Index view
Select from the menu bar
Enter a name for the page and click on the OK button
6.4.4. Deleting or renaming pages#
To delete or rename pages, you can right-click on the page and select the desired function.
6.5. Exporting notes and notebooks#
To export the notebook or a page, select:
In the dialog window that appears, select the desired option and click on the Forward button (Fig. 109).
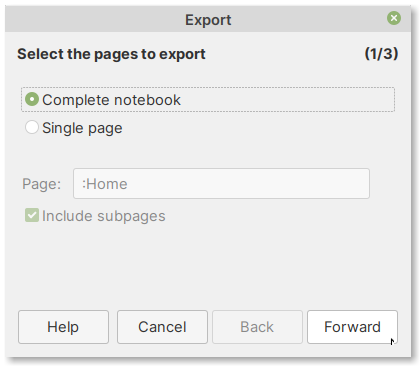
Fig. 109 Export notebook#
In the next screen, you can select the format of the exported notebook or page in the Format drop-down box (Fig. 110).
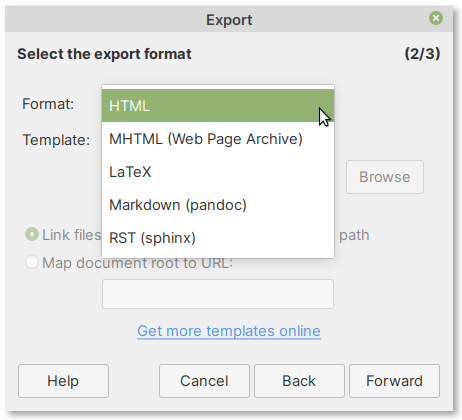
Fig. 110 Select an export format#
You can leave it at the default — HTML. Click on the Forward button to proceed.
In the final screen, select a directory to save the exported notebook or page.
Note
If you are using the defaults, it is a good idea to create a new output directory and select it under Output folder.
Click on the OK button complete export.
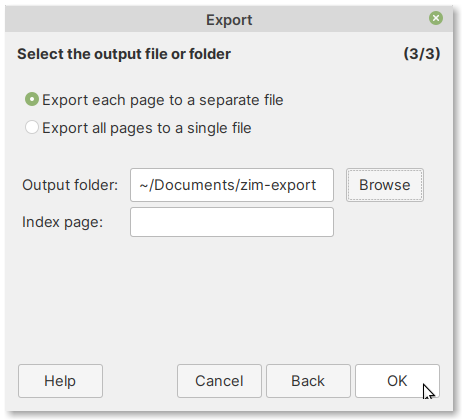
Fig. 111 Select an output folder#
When complete, open the output directory in file manager.
Double-click on Home.html to open it in the browser (Fig. 112).
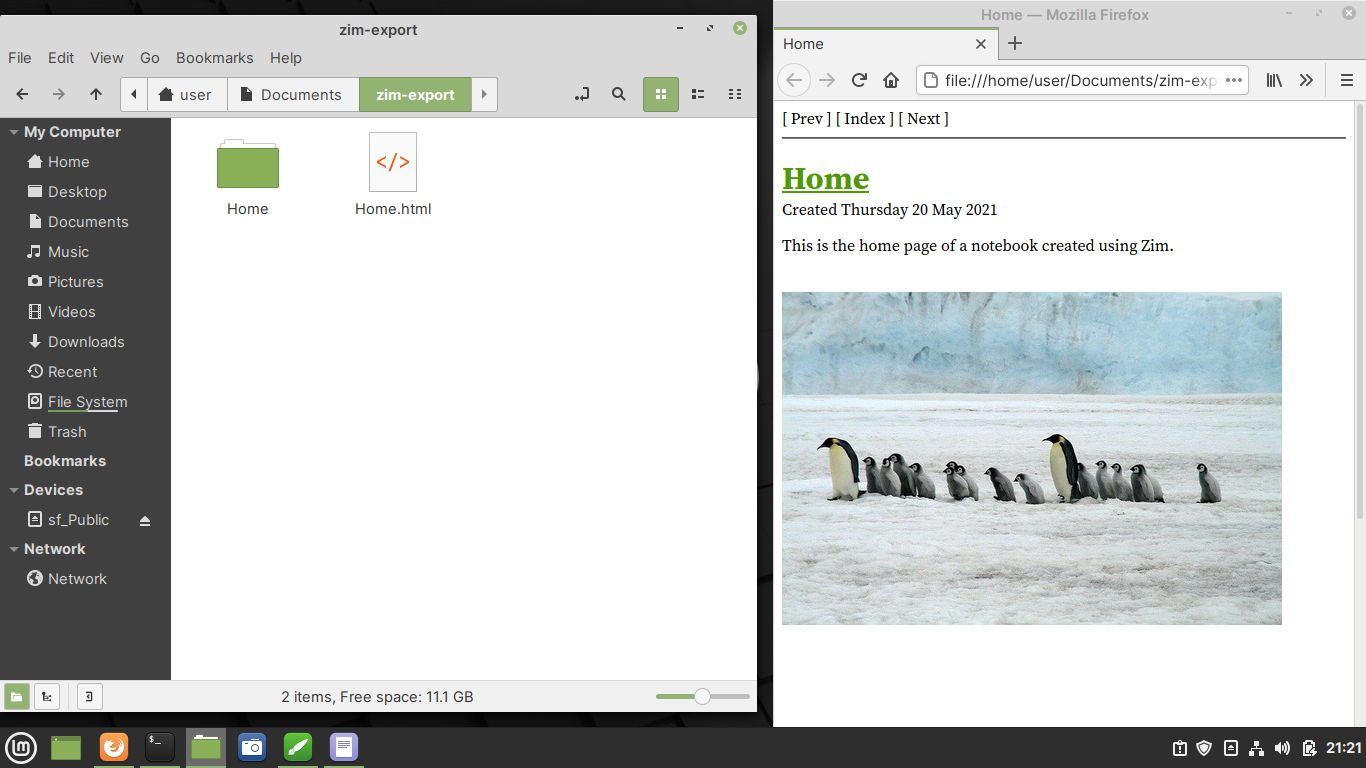
Fig. 112 Viewing exported notebook#
6.6. Activating more features using plugins#
These are some plugins included with Zim:
- Insert Symbol
— insert special symbols and characters
- Table of Contents
— adds a widget displaying the current page’s table of contents
- Tags
— add tags to your notes
- Tray Icon
— adds an icon to system tray for quick access to your notebooks
- Spell Checker
— adds support for checking spelling
—
You will need to activate (or enable) them in preferences, before you can start using them.
6.6.1. Enabling a plugin#
To enable a plugin:
Select
Click on the Plugins tab
Check the box corresponding to the plugin you wish to enable (Fig. 113)
Click on the OK button
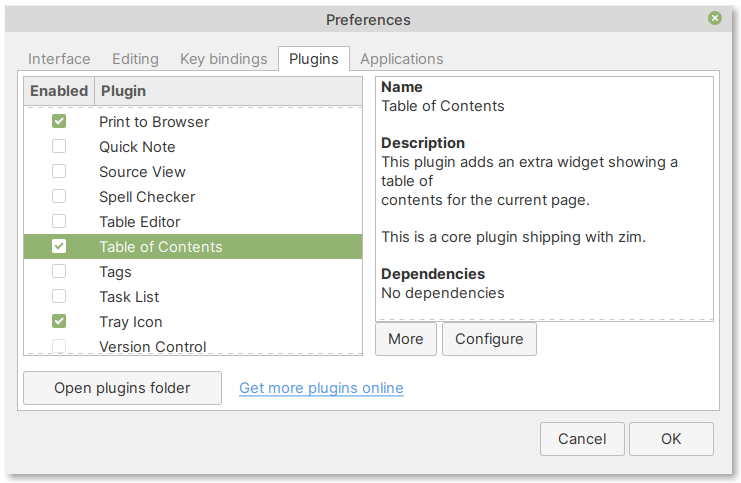
Fig. 113 Enabling plugins#
Note
Some plugins have additional options.
Click on the Configure button below the plugin description to access these options.
6.7. Getting help#
Zim includes a detailed user manual. You can access this by selecting (Fig. 114):
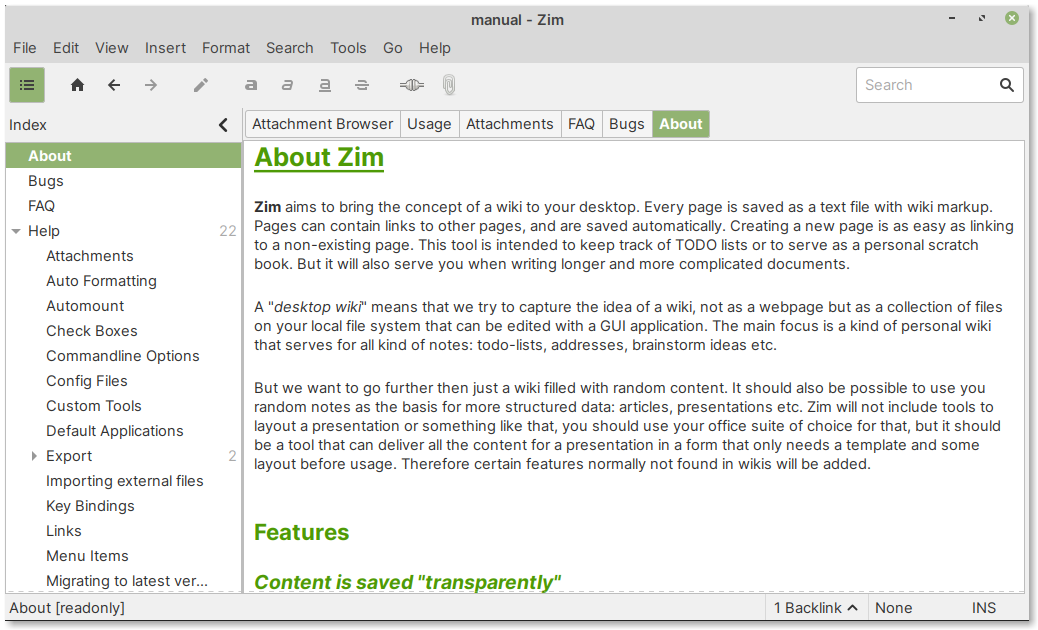
Fig. 114 Help on using Zim#
Comments